

How to Buff Wood Furniture Correctly, Step by Step
Last Updated: November 14, 2026
Quick Summary
To buff wood furniture correctly, start with a clean, completely dry surface and apply a small amount of compatible balm evenly. Let it absorb for a few minutes, then buff away all excess with a clean cloth until the surface feels smooth, not greasy.
- Start with a clean, completely dry surface before applying any product.
- Test a hidden area first to check compatibility with the existing finish.
- Apply a small amount of balm and work it in with small circular motions.
- Let the balm absorb for a few minutes before buffing.
- Buff with a clean cloth until the surface is smooth and no longer picks up excess.
Table of Contents
- What Buffing Means and What It Does Not Do
- What You'll Need Before You Start
- How to Buff Wood by Hand, Step by Step
- Choosing the Best Cloth for Buffing Wood
- How to Remove Excess Furniture Wax Without Starting Over
- How to Tell When Buffing Is Complete
- Common Buffing Mistakes and How to Avoid Them
- Choosing Your Next Step for Your Wood Furniture
- Frequently Asked Questions
Buffing is the step that turns a freshly conditioned surface into one that feels smooth and even, and it is the stage where the result is really decided. Done well, it removes the extra product that would otherwise sit on top and leave a greasy film. Buffing is finishing step, so it is worth getting right.
Buffing is the removal of excess product after application. It means working a clean cloth over the surface to even out what was applied and lift away what did not absorb. It is not sanding, it is not polishing, and it is not a repair. Those are different jobs, and mixing them up is one of the most common reasons people end up disappointed.
What Buffing Means and What It Does Not Do
Buffing comes after you have applied a compatible conditioner, balm, or wax. Its job is simple: even out the layer and remove the surplus. For wood furniture pieces with a buffed finish, a smooth, dry-feeling finish is the goal.
Buffing does not remove scratches, water rings, stains, cracks, failing finish, or structural damage. If a surface has those problems, buffing will not fix them. Repairing damage, refinishing, and restoring are separate jobs with their own methods.
- Buffing evens and removes excess product after application
- Buffing does not repair scratches, stains, or water rings
- Buffing does not replace refinishing or structural repair
- Buffing does not work the same way on every finish
What You'll Need Before You Start
Gather your supplies before you open the jar, but also take two minutes to think about what is already on the wood. The existing finish usually matters more than the wood species when you decide how much product to use and how hard to buff. Bare or oil-finished wood can usually take in more balm and may need a lighter touch on the buffing cloth.
You do not need to name the finish to get a good result, and you should not try to guess it from gloss, hardness, absorbency, appearance, or how it feels. Those cues are unreliable.
Supplies to have on hand:
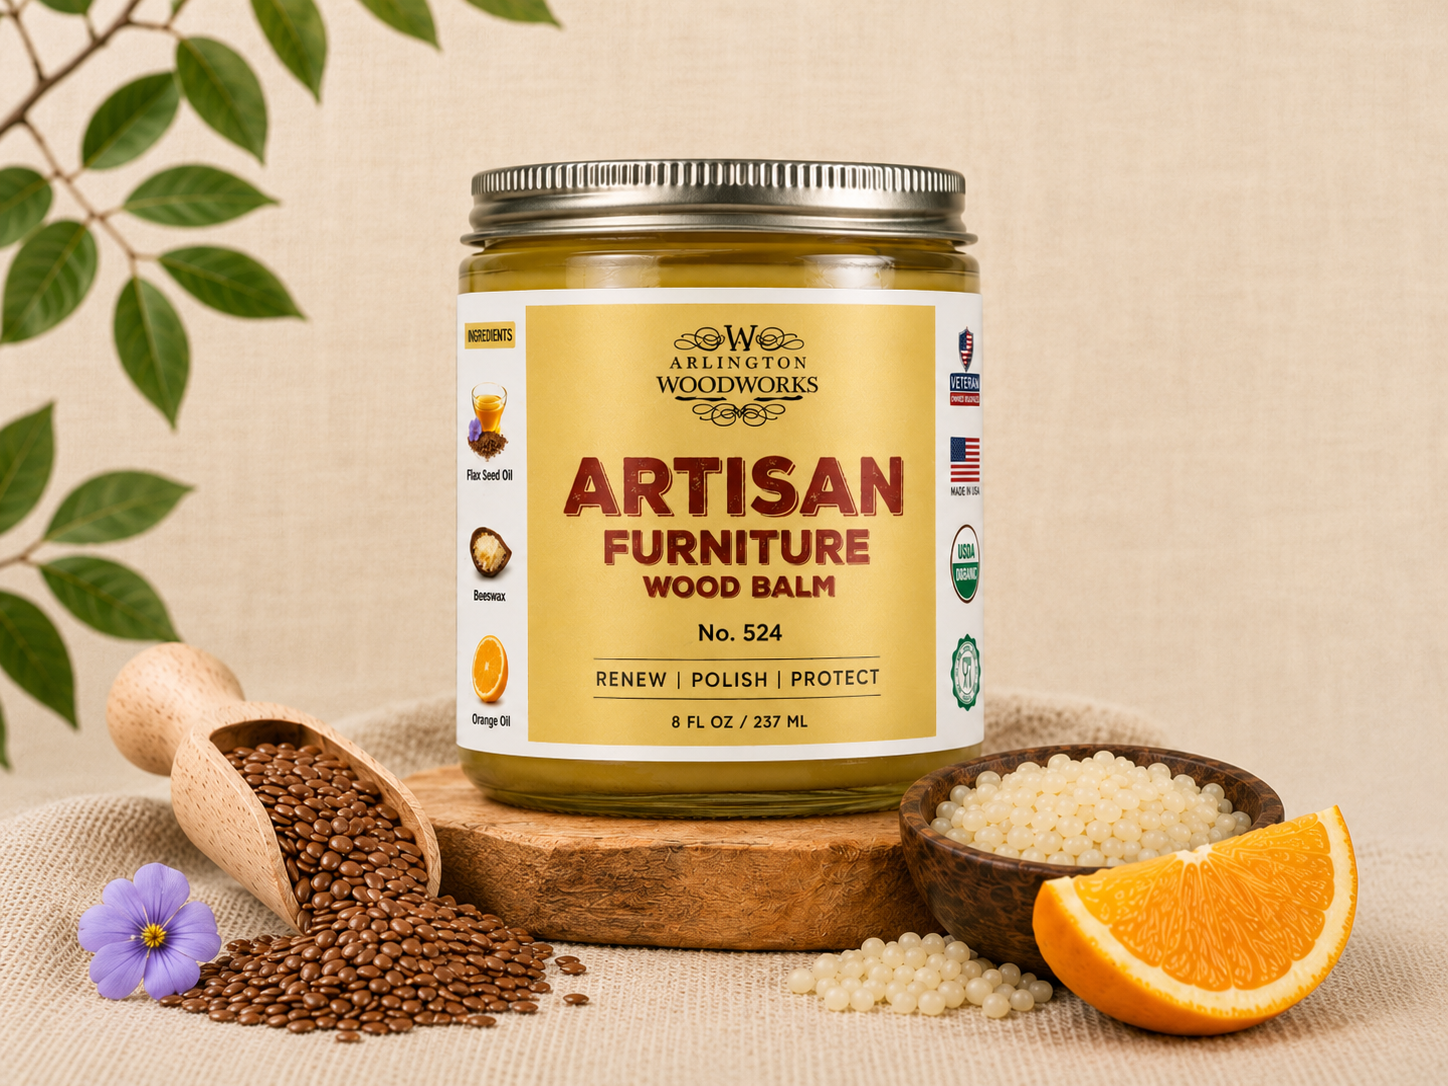
- Artisan Furniture Wood Balm No. 524 (shop the balm)
- Two soft, clean, lint-free cotton cloths: one for applying, one for the final buff
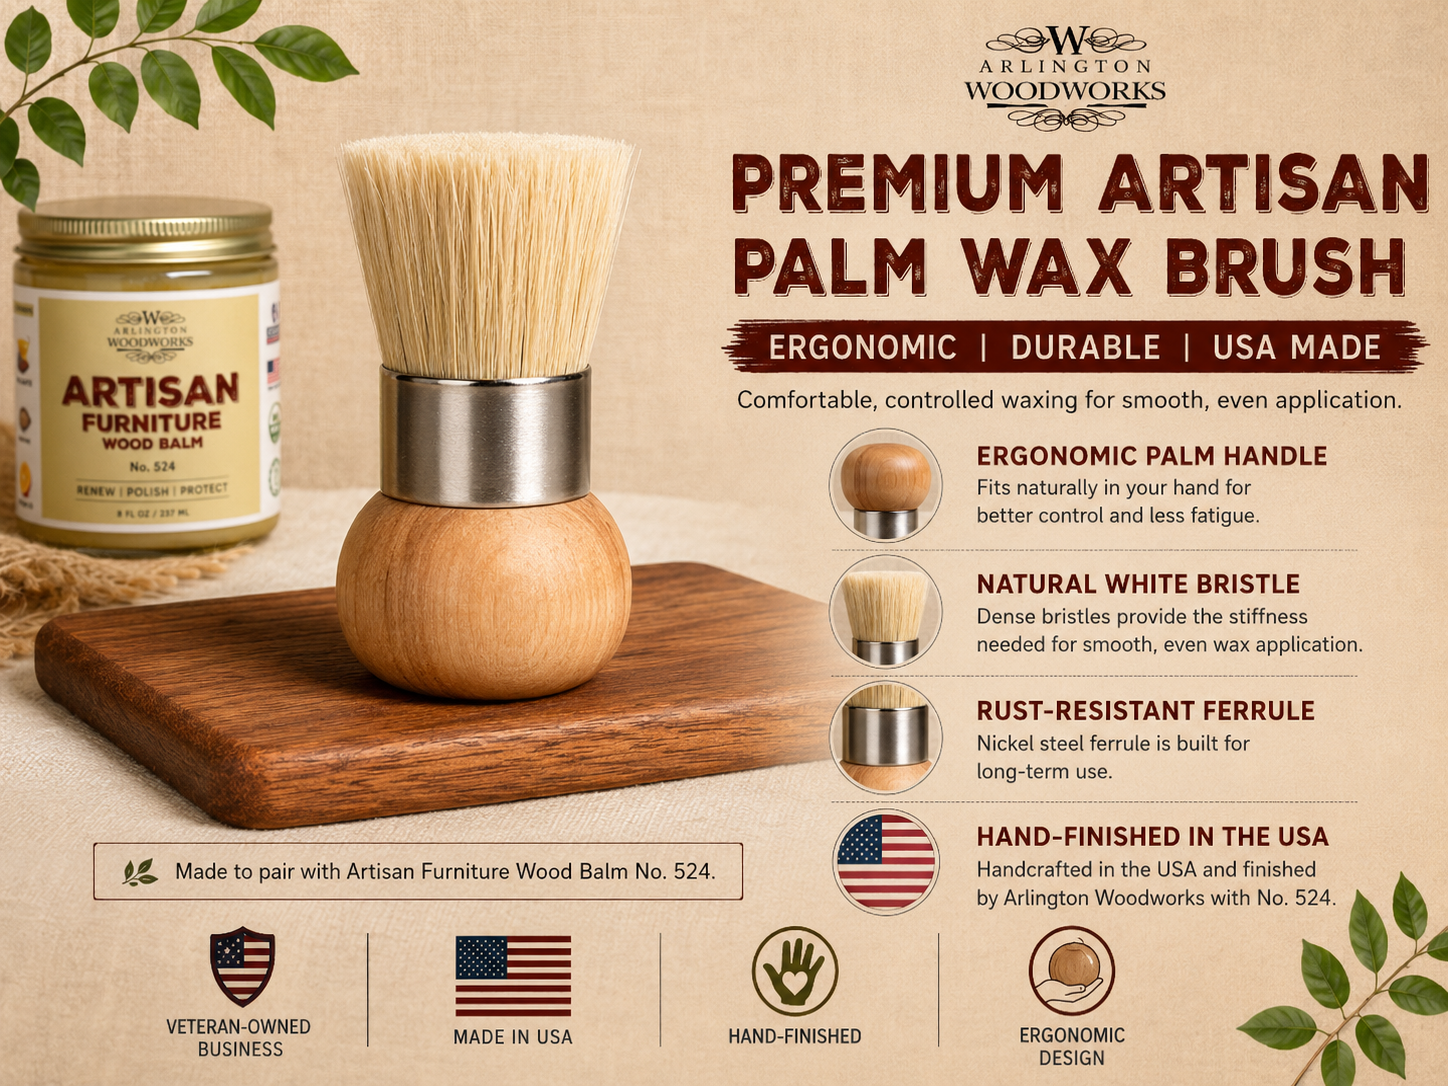
- A Premium Artisan Palm Wax Brush for controlled, thin passes on flat surfaces and detail areas (see the palm wax brush)
- A well-lit, ventilated workspace so you can see streaks and haze
- A hidden test spot at the back or underside of the piece
Matching the cloth to the finish:
- On film finishes such as polyurethane, varnish, lacquer, and shellac, use a soft cotton cloth and light pressure. The goal is to lift surplus balm, not to work the surface.
- On bare or oil-finished wood, expect more absorption. Use less product per pass and buff with a clean, dry cloth until the surface feels smooth rather than slick.
- On wax and hardwax-oil finishes, a thin application and a thorough buff matter most, because excess wax can build up and turn tacky.
Keep the two cloths separate. One applies the product and the other does the final buff. Mixing them up leaves residue behind and makes it harder to tell when the surface is actually even.
Watch out: Do not use rough paper towels, abrasive pads, or synthetic cloths that pill. They can leave fibers or fine marks, and on a film finish those marks are hard to undo without a separate repair job.
How to Buff Wood by Hand, Step by Step
Follow these steps in order. The process is the same for most compatible wood surfaces, but always check the product directions for your specific item.
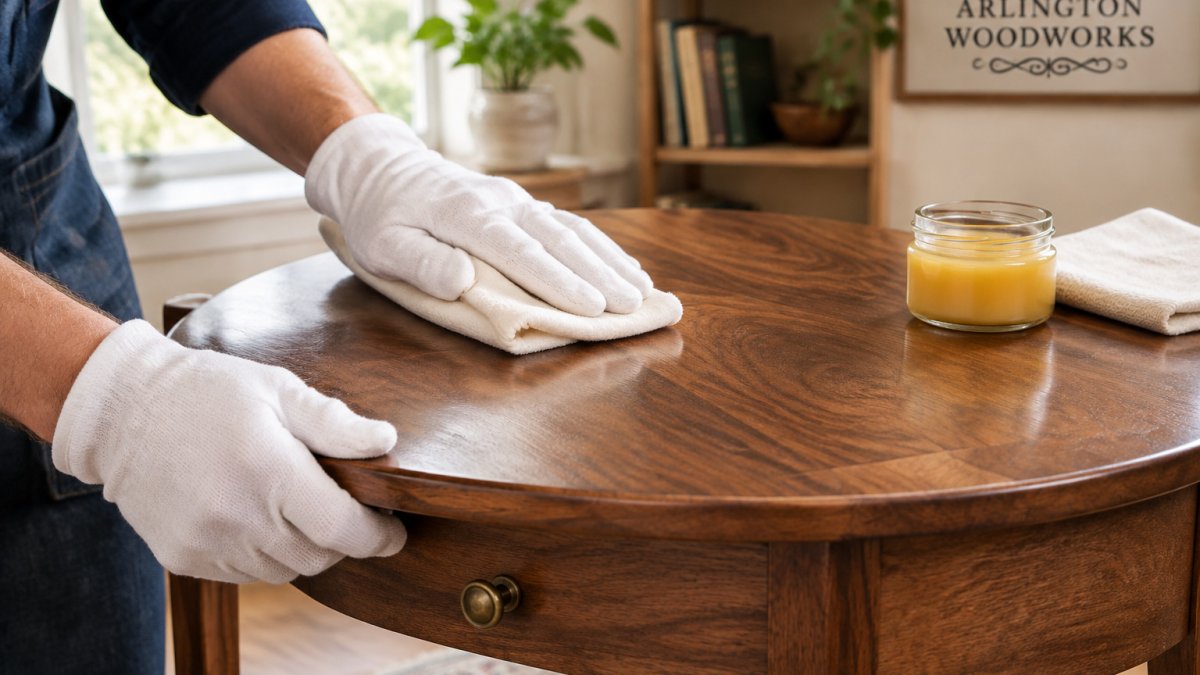
Step-by-step infographic showing hands in cotton gloves buffing a walnut side table with furniture balm
- Start with a clean, completely dry surface. Dust and moisture trapped under product cause streaks and uneven sheen.
- Test a hidden area first. Choose a spot underneath or at the back. Apply a small amount, buff it, and wait to see how the wood reacts. This checks compatibility but does not confirm the finish type with certainty.
- Scoop a small amount of balm. Start with less than you think you need. More product is not better.
- Apply it evenly. Work in small circular motions, covering one section at a time.
- Let it absorb for a few minutes. Give it a short rest so the surface can take in what it can.
- Buff away all excess. Use a clean cloth and buff with long, even strokes until the surface stops feeling oily.
- Check the surface. Run your hand across it and look at the light. Continue to the next section once it looks and feels even.
For larger flat surfaces such as tabletops, you can load the palm wax brush lightly and work in thin, even passes, then buff. The final result should look the same either way: even, with no visible excess.
Watch out: Do not add more product to a surface that still feels tacky. Keep buffing with a clean cloth instead.
The steps below summarize the buffing process from start to finish.
Step |
What to do |
Timing |
|---|---|---|
1. Prepare |
Start with a clean, completely dry surface |
Before you begin |
2. Test |
Apply a small amount to a hidden area |
Before full use |
3. Scoop |
Take a small amount of balm |
Start light |
4. Apply |
Work in small circular motions, one section at a time |
Section by section |
5. Absorb |
Let the balm soak in |
A few minutes |
6. Buff |
Remove all excess with a clean cloth |
Until not oily |
7. Check |
Feel the surface and check the light |
Before moving on |
Choosing the Best Cloth for Buffing Wood
The right cloth makes buffing easier and leaves fewer marks. Soft cotton works best because it is lint-free and gentle on the surface.
Avoid rough paper towels, which can leave fibers behind. Avoid synthetic cloths that can drag or pill. Keep a fresh section of cloth for each stage, and switch to a clean cloth when the first one feels saturated. You can compare the full range of options on our Wood Care Essentials page before choosing your cloth and supplies.
How to Remove Excess Furniture Wax Without Starting Over
Most heavy-application problems look worse than they are. A sticky, cloudy, or streaky film usually means too much product went on, the product did not get enough time to settle, or the buffing cloth was already loaded with residue.
The least-invasive fix is almost always the same: a clean, dry cloth, long even strokes, and a fresh section of cloth as the first one picks up product. If the film is still tacky after one pass, let the surface rest briefly and buff again with a clean cloth.
Common problems and what usually causes them:
- Tacky or greasy feel. Too much product, or buffing stopped too early. Fix: keep buffing with a clean cloth until the surface feels smooth, not slick.
- Cloudy or hazy patches. Uneven application, or product sitting in one area. Fix: buff the patch with a clean cloth using light pressure, then check under raking light.
- Streaks that follow the cloth. A dirty or saturated buffing cloth. Fix: switch to a fresh, clean cloth and buff in long, straight strokes.
- Residue in carved or textured areas. Product collected in recesses where the cloth cannot reach. Fix: use the palm wax brush or a folded corner of cloth to lift it out, then buff the surrounding flat area.
- Uneven sheen across a tabletop. Working one section much heavier than the next. Fix: buff the whole surface with one clean cloth so the sheen evens out.
If a film finish still looks cloudy after two clean-cloth passes, stop and let it rest before trying again. Repeated buffing on the same spot with a loaded cloth can push residue around rather than remove it. On antiques, veneer, heirlooms, or any piece with an unknown finish, treat persistent problems as a signal to get professional advice rather than to escalate the method.
Watch out: Do not reach for solvents, heat, or harsh abrasives to strip a heavy layer. Those methods can damage the finish, and on veneer or an unknown finish the damage may not show up until later.
How to Tell When Buffing Is Complete
You are done when the surface checks out on three points:
- The surface feels smooth, not greasy or tacky
- No pooling, streaks, or cloudy patches remain
- Your cloth is no longer picking up significant excess product
If any of these are missing, keep buffing with a clean cloth. Do not reach for more product. Stop once the surface looks and feels even, because continuing to work it after that can leave a dull or uneven sheen.
Common Buffing Mistakes and How to Avoid Them
Most buffing problems come from a handful of habits. Watch for these:
- Using too much product. This is the biggest cause of greasy or tacky results.
- Buffing before the product has settled. Give it a few minutes to absorb first.
- Using a dirty cloth. Old residue can smear back onto the surface.
- Leaving residue in carved or textured areas. Use the brush or a folded corner of cloth to reach these spots and buff them clean.
- Overworking a surface that is already even. Once it feels clean and smooth, stop.
Finish compatibility matters too. Bare or oil-finished wood may respond differently from polyurethane, varnish, lacquer, or shellac. A hidden-area test helps, but it cannot identify an unknown finish for certain. For antiques, veneer, heirlooms, or any piece you value, use the least invasive approach and consider professional advice before doing anything more involved. Our article on how to choose and apply artisan wood furniture finishes covers how to think through compatibility in more detail.
Choosing Your Next Step for Your Wood Furniture
Once you have buffed a piece and it feels even, you have done the essential work. From here, the right next step depends on the piece. Routine care is best guided by the surface's condition and how it is used, not by a fixed calendar.
If you are curious whether a natural beeswax-based product suits surfaces you use with food, our guide on whether beeswax is safe for food explains what to look for. For most home wood care, Arlington Woodworks offers the Artisan Furniture Wood Balm No. 524 as a simple starting point for compatible wood, and the Starter Kit pairs the balm with a palm wax brush if you want both in one place.
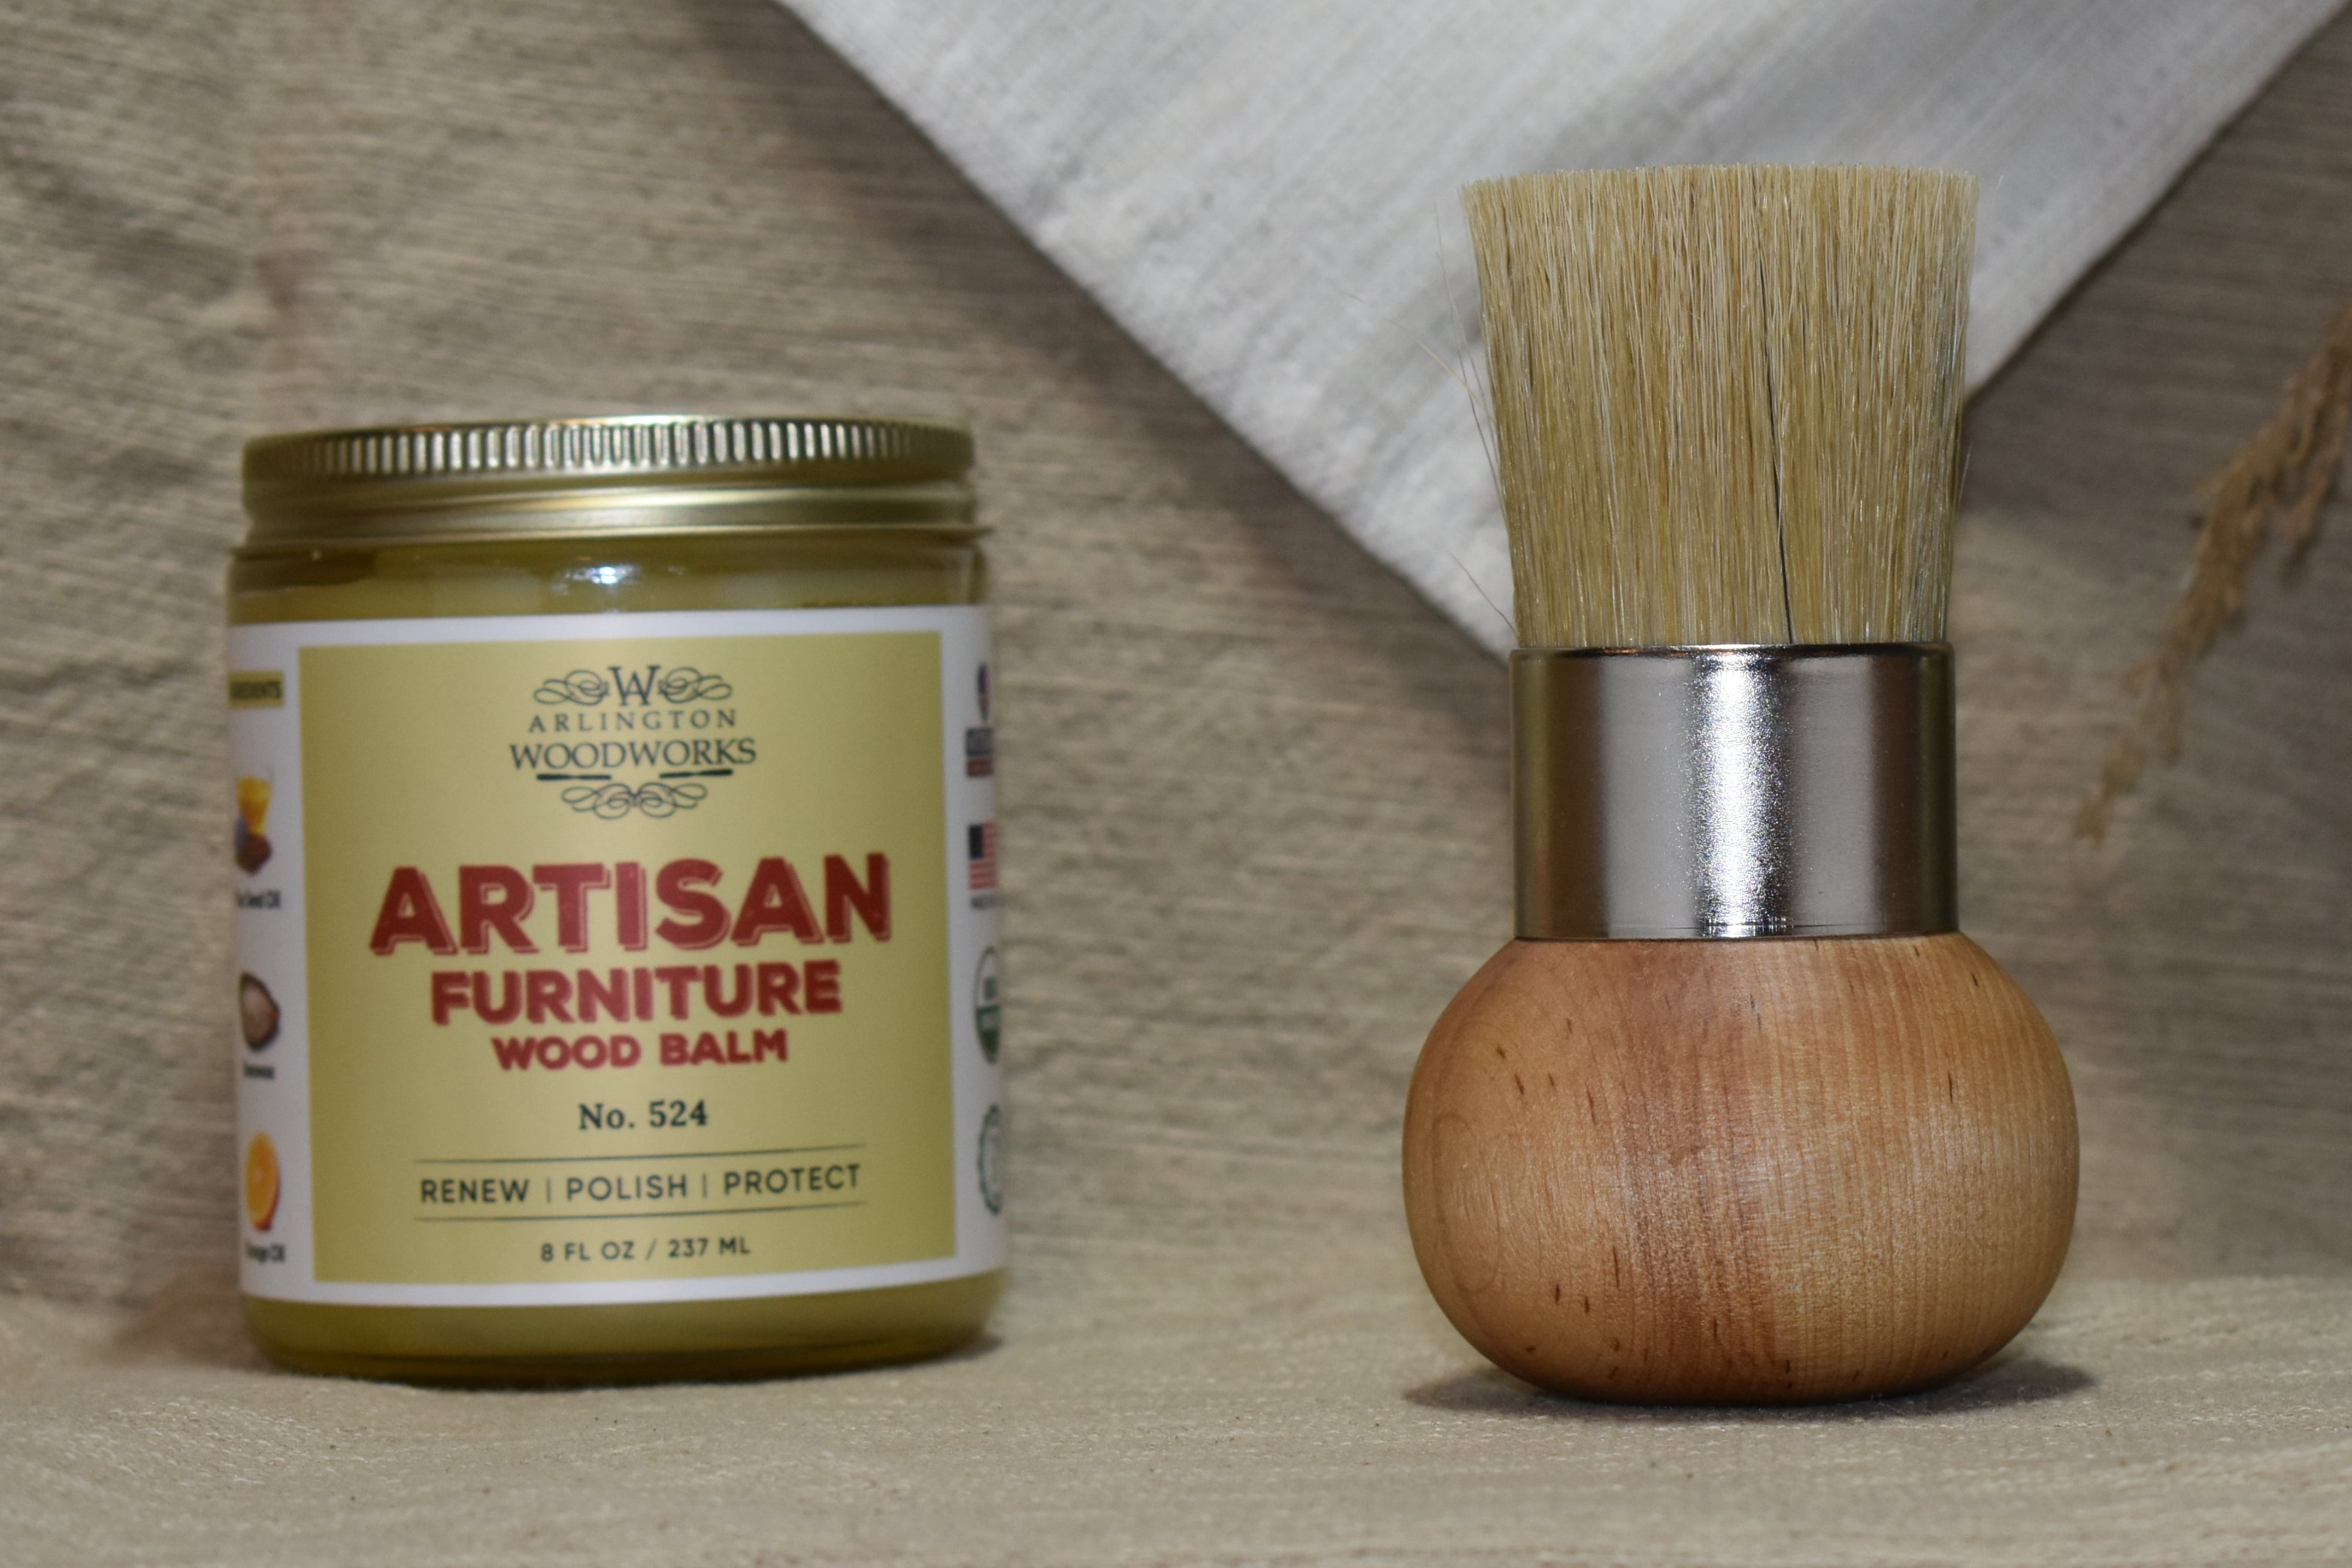
Starter Kit
Take your time, use less than you think, and let the cloth tell you when the job is done.
Frequently Asked Questions
How do you buff wood furniture by hand?
Start with a clean, completely dry surface and apply a small amount of product evenly. Let it absorb for a few minutes, then buff in the direction of the grain with a clean, dry cloth. Keep turning the cloth to a fresh side, and keep buffing until the surface feels smooth and no longer picks up excess product. Product-specific directions for Artisan Furniture Wood Balm No. 524 call for this same sequence, and you should test a hidden area first if you are unsure of the finish.
How can you tell when wood furniture is fully buffed?
The surface should feel smooth rather than greasy or tacky, with no visible pooling, streaks, or shiny wet patches. The cloth should stop picking up significant product when you buff a clean area. If the surface still feels sticky, keep buffing with a clean section of cloth rather than adding more product. Excess product is the most common reason a finish feels unfinished.
Can you buff a polyurethane-finished table?
Buffing a polyurethane-finished table is possible only when the product you used is compatible with that film finish, and you should confirm with a hidden-area test first. Film finishes can react differently from bare or oil-finished wood, and a test does not identify an unknown finish with certainty. If the finish is failing, cracked, or lifting, buffing will not fix it, and you should consult the furniture or finish manufacturer or a professional.


